

Introduction
When you open up the Unity Editor for the first time, (let’s be honest) it’s pretty daunting. In this tutorial, we’ll be breaking down the interface of the Unity Editor.
Scene View
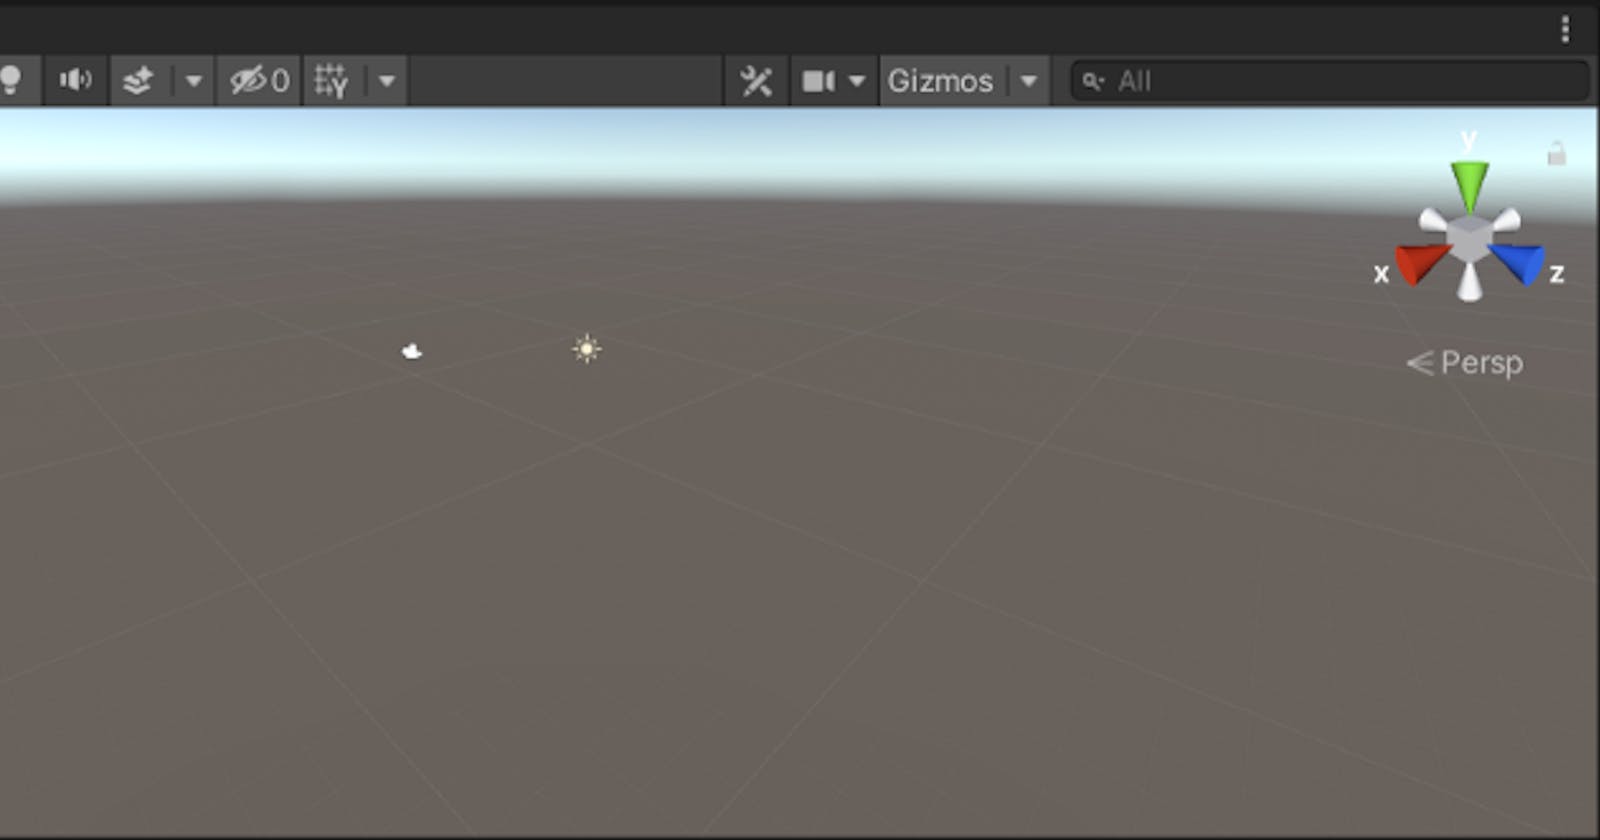
The Scene View is where we end up spending a lot of our time — this is where we can move GameObjects around and edit the scene.
Essentially, a scene is a collection of assets and GameObjects. This could be a level, a menu or anything else.
You might hear the term GameObjects a lot. GameObjects are basically what they sound like — objects in our game. GameObjects and components are discussed in detail in this tutorial (work in progress).
Transform Tools
In the top left, we have the Transform Tools. These allow us to edit or position the GameObjects in the Scene view, as well as help us navigate the scene. Let’s have a look at each of these Transform Tools.

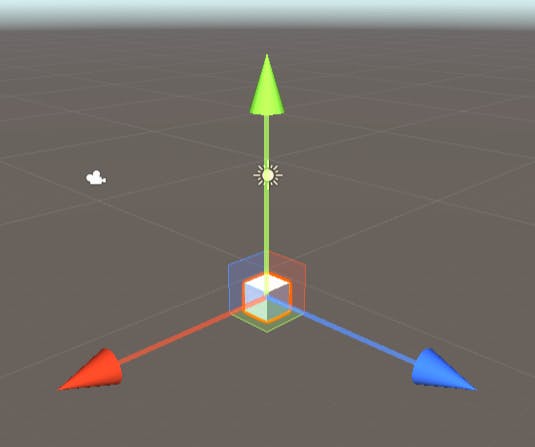
Move Tool
The Move Tool allows us to move GameObjects around the Scene. We can move them along the X, Y or Z-axis by clicking and dragging along the three arrows in the Move Gizmo. To move a GameObject across all axes, hold down the Shift key on the keyboard and then click and drag the center of the Move Gizmo.
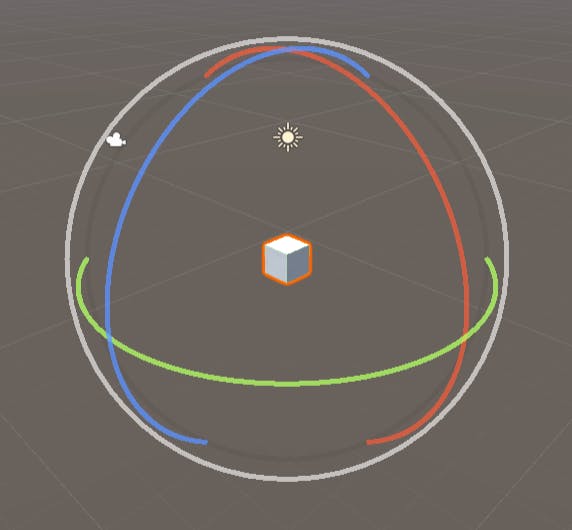
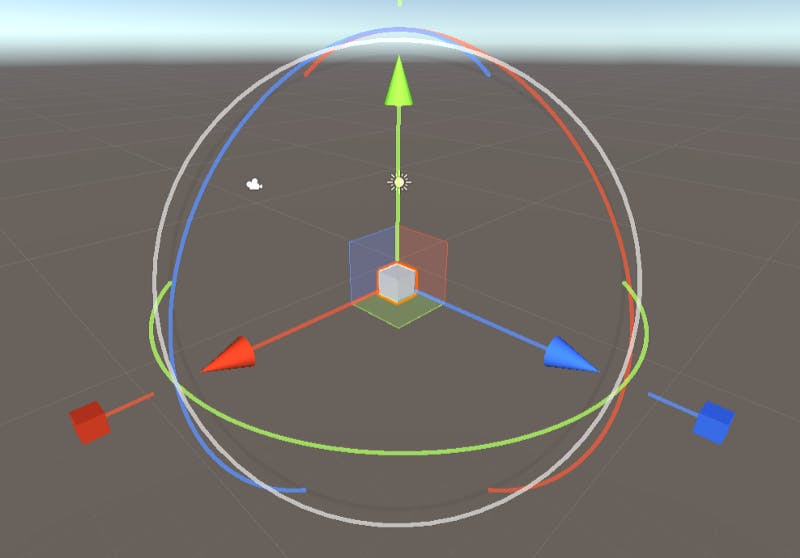
Rotate Tool
The Rotate Tool is used for rotating GameObjects inside the Scene. We can do this by clicking anywhere inside the wireframe and dragging around.
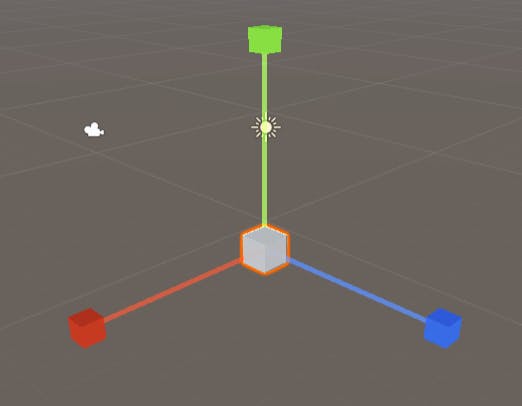
Scale Tool
With the Scale Tool, we can scale the GameObject. We can scale along an axis separately by using the axis handles, or we could click and drag from the center of the Scale Gizmo allowing us to scale evenly across all axes.
Rect Tool
The Rect Tool allows us to resize our GameObjects and move them around as well. However, this tool is generally used when dealing with UI elements or 2D sprites. UI elements include buttons, text, input fields or dropdown menus.
Move, Rotate and Scale Tool:
This tool combines the Move, Rotate and Scale tools into one. Personally, I’ve never needed to use this, but it essentially just allows us to manipulate GameObjects by moving, scaling and rotating at once, using the Move, Rotate or Scale Gizmo.
Hotkeys
One last thing I’d like to add about the Transform Tools is that each tool has a designated hotkey for it. This allows us to easily switch between tools as we build our scene. The hotkeys for the Transform Tools are listed below:
Move Tool: W
Rotate Tool: E
Scale Tool: R
Game View
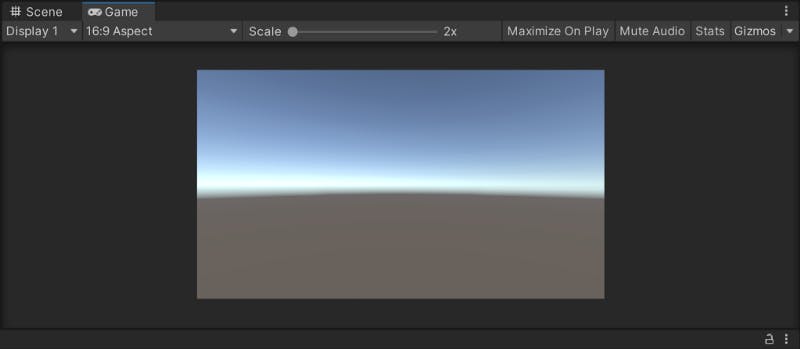
The Game View is what the camera inside the scene sees. You’ll notice that we have a camera inside our Scene view and the Hierarchy. That camera is essentially the eyes of the player. So, the game view is what the player will be seeing.
The Game view also allows us to interact with the game. So, when we are playtesting our games, the Game view comes in handy.
We can start the game inside the Unity Editor by clicking on the play button in the toolbar at the top of the window. A handy shortcut for this is ctrl+p if you’re on Windows or cmd+p if you’re on a Mac.

Hierarchy
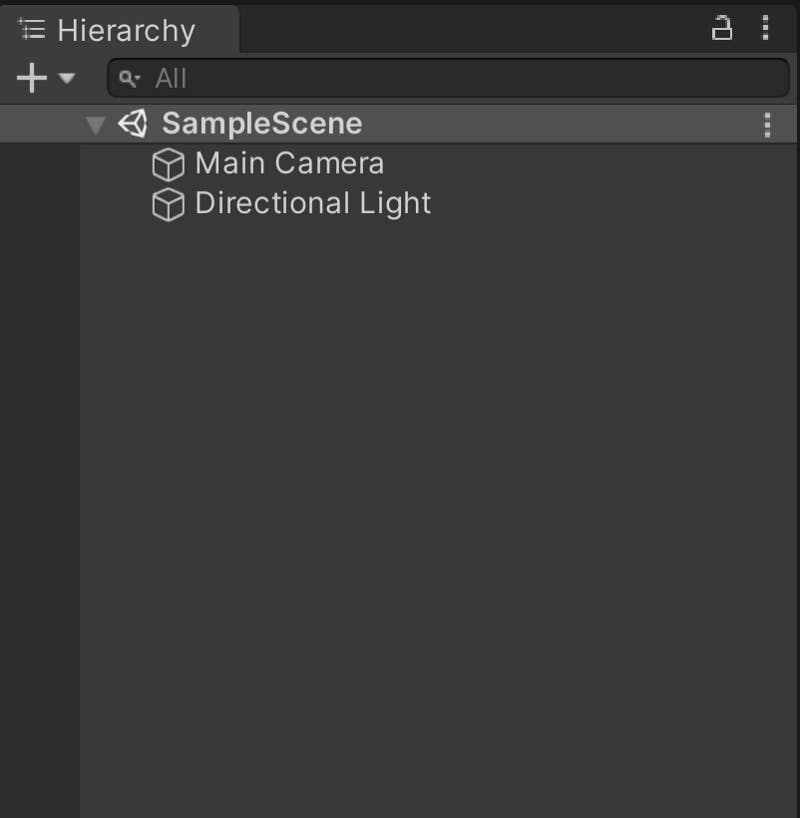
Moving on, the Hierarchy is where we can see all the GameObjects in the scene. At the top you’ll see the name of the Scene, in this case (as I haven’t changed anything inside the project yet) the default scene is called “Untitled”.
GameObjects are arranged hierarchically in the hierarchy window. There can also be parent GameObjects and child GameObjects. This is known as parenting. Don’t worry if this does not make sense right now as this is only an overview. If you want to learn more, check out this tutorial (work in progress).
To create a GameObject, we right-click anywhere in the hierarchy and select what GameObject we would like to create. For instance, to create a cube in the scene, we could just right-click in the hierarchy panel and select 3D Object > Cube.
Project Window
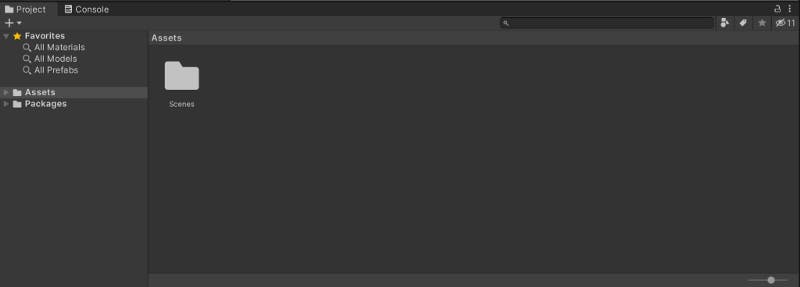
The Project Window is where we manage all the assets and files related to the project. These can be audio files, code or literally any file related to our project. The project window is basically a file manager built into the Unity Editor.
On the left panel inside the Project Window, we can view the folder structure and the Favorites section. The Favorites section is for convenience as it provides easy access to queries or folders from our project. We can simply drag folders from the project into the Favourites section to add them or save search queries by selecting the star on the toolbar at the top.
From the panel on the right, we can view the files inside the project. You’ll notice that there’s already a folder there. To view its contents, double click on the folder. You’ll see it contains a single file called “SampleScene”. This is a scene that Unity has automatically saved for you. If you would like to view the scene, just double click on the file. That will open the scene inside the Unity Editor.
To create a new folder, we click the Create menu on the toolbar at the top and select “Folder”. Or we could right-click anywhere in the empty space inside the large panel on the right, then select Create > Folder.
The search bar on the toolbar at the top allows you to search for a file inside your project. As mentioned before, you can save a query by selecting the star icon.
Console
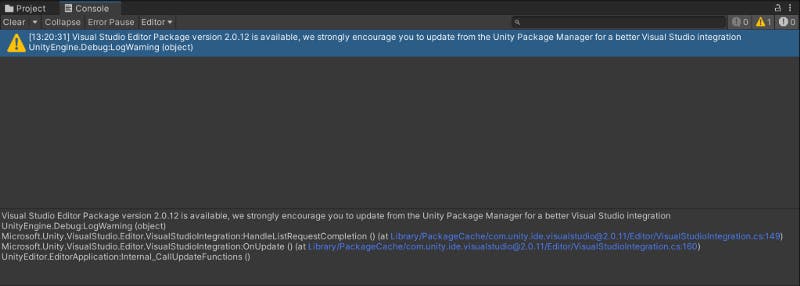
The Console comes in handy when we begin writing code. The Console alerts us about errors and warnings. It also allows us to log information while the game is running.
Click and select any log to view the details at the bottom.
In this case, there’s a warning which suggests updating a package from the Unity Package Manager.
Inspector
The Inspector allows us to view and tweak the properties and settings of GameObjects or assets. If you want to learn more about the Inspector, feel free to have a look at this tutorial (work in progress).
Conclusion
Hopefully, you enjoyed this tutorial and got a better idea of how the Unity Editor works. Feel free to check out some of my other tutorials and blog posts on Odd Bytes.
Originally published at siddak.code.blog on January 17, 2022.